
Homemade Rye Bread
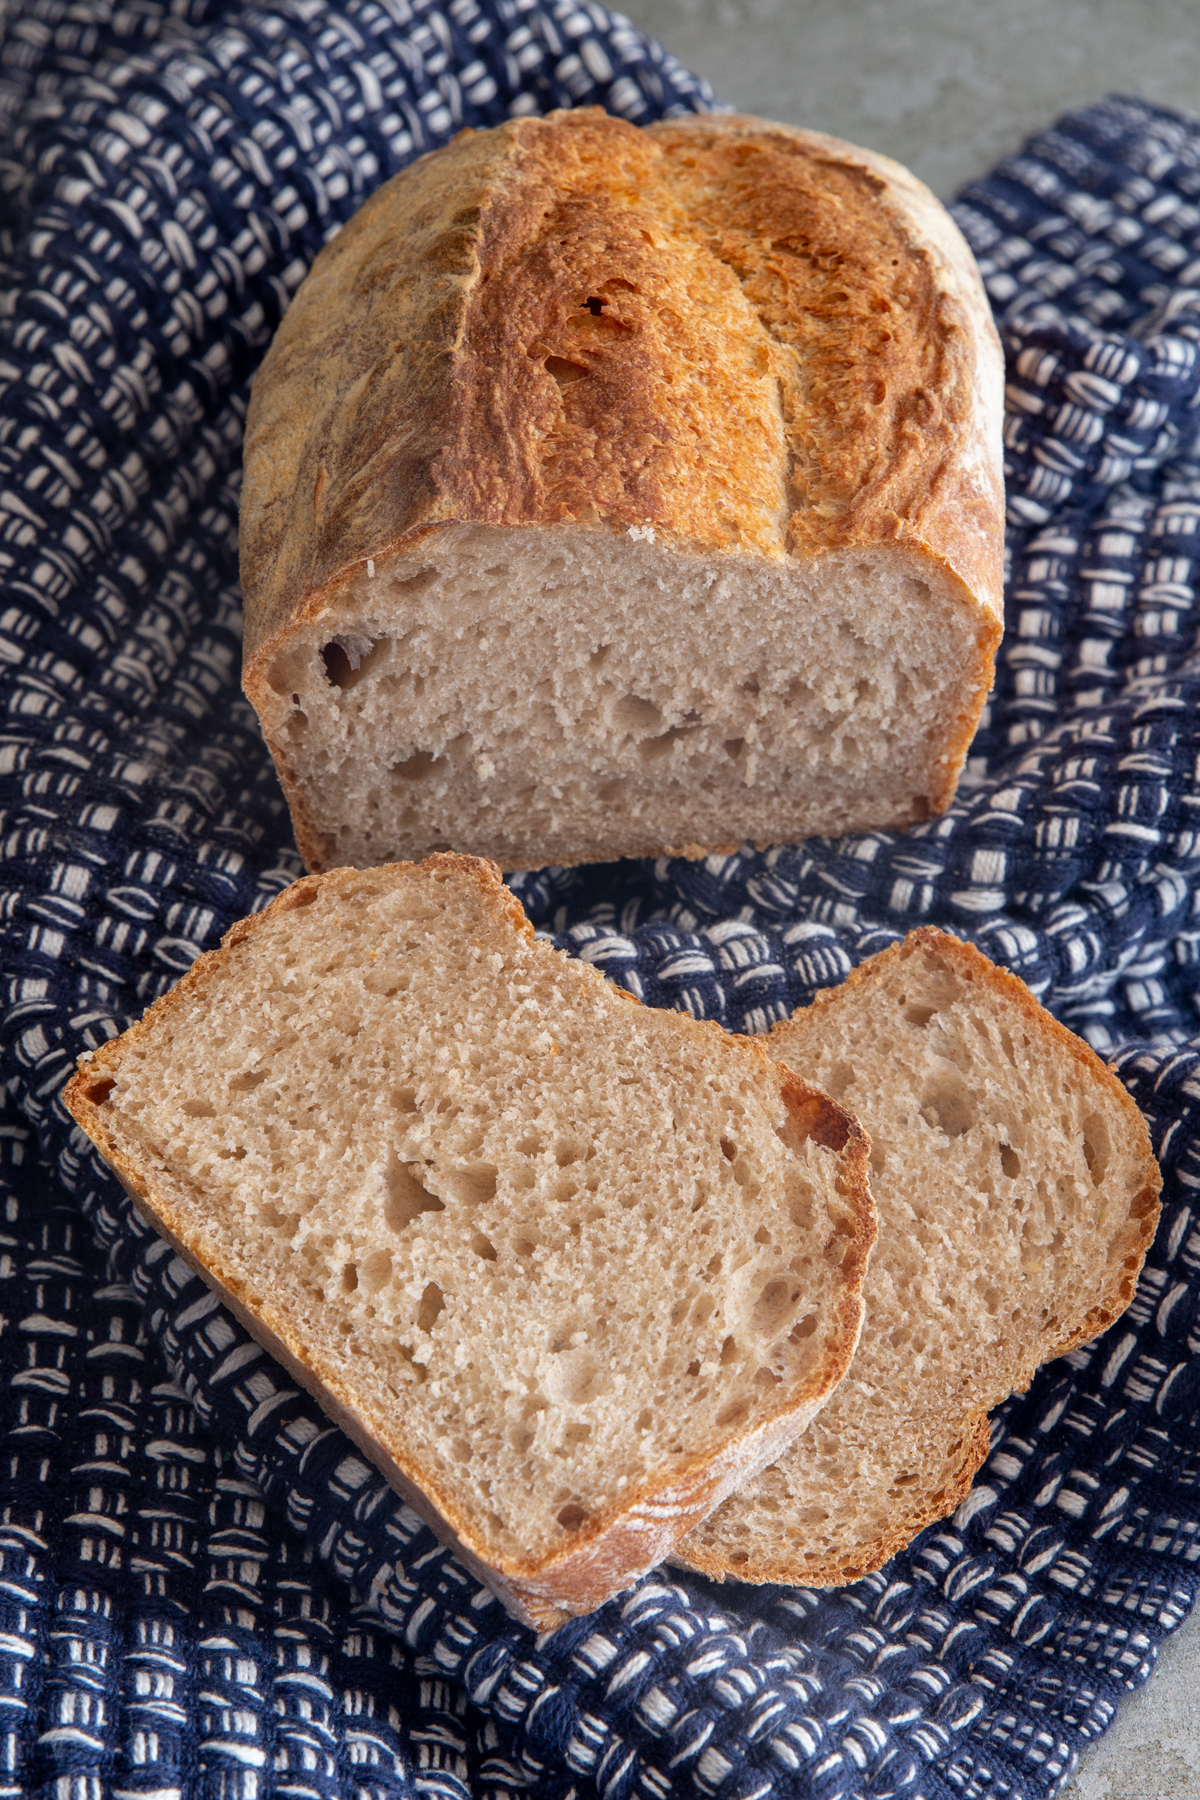
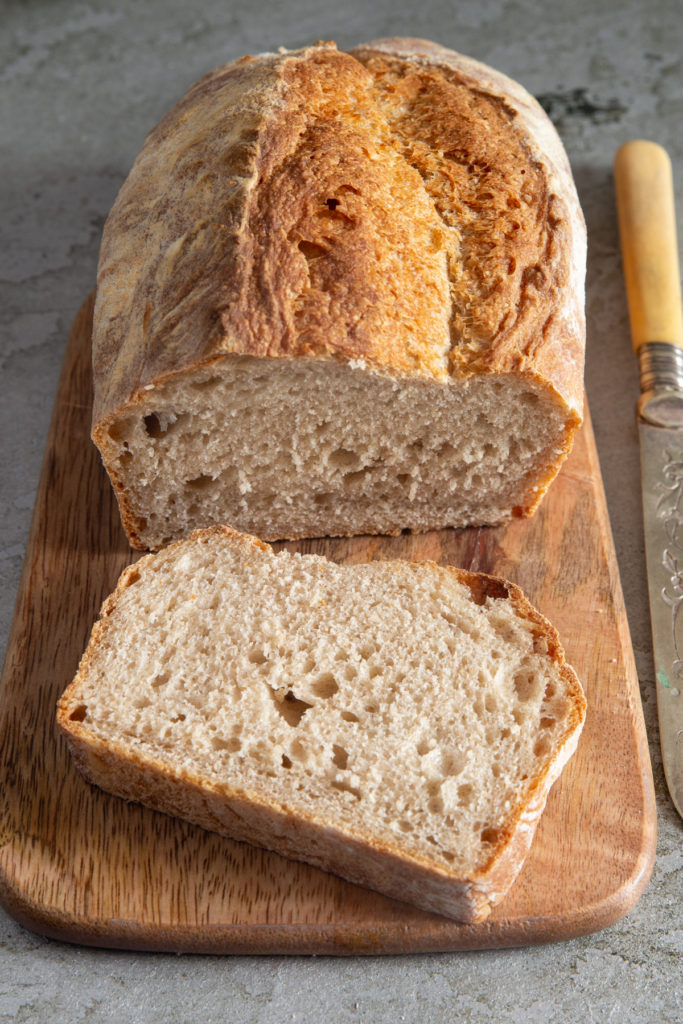
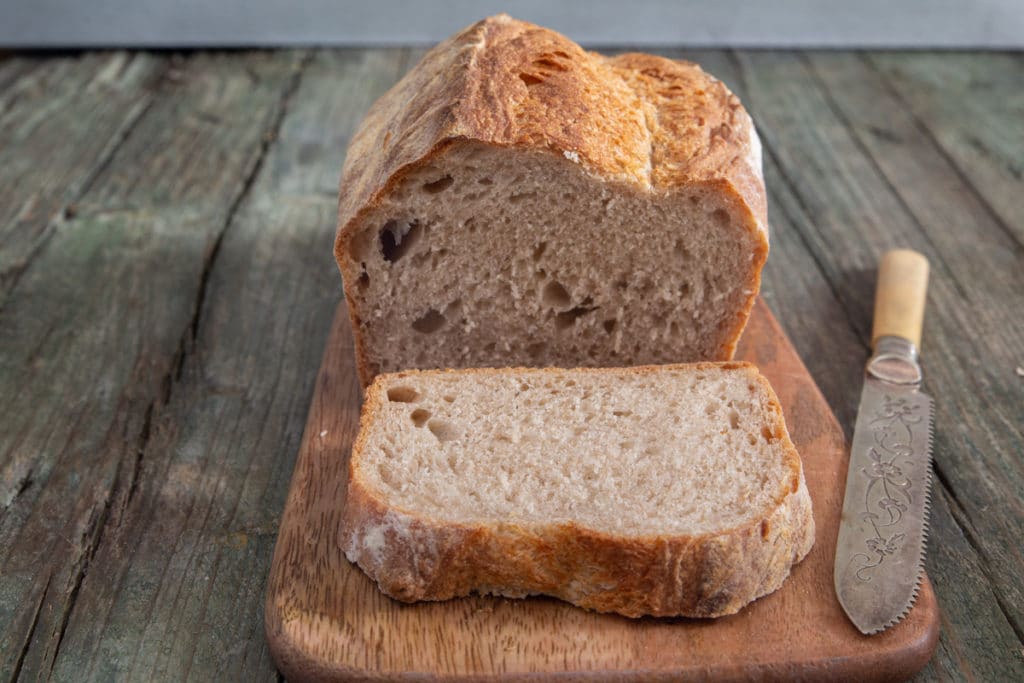
Learn to bake a simple heavenly loaf of homemade rye bread without the need for a mixer or a Dutch oven. This easy recipe results in a delicious artisan loaf better than you’d find in any bakery!
I don’t think there’s anything more satisfying than baking homemade bread from scratch. Pulling a loaf of rye bread out of the oven is a pure and simple pleasure. Ok, so maybe I love baking bread a little more than the average person, but I tell you, give it a try once and you’ll forever be searching for new bread recipes to try.
There are many different kinds of rye bread varying in color from light like this recipe to dark like pumpernickel and somewhere in the middle are the dark and marble version, each with its own distinct flavors.
The ingredients can differ as well when adding things like caraway seeds or fruits, or nuts, which adds to the taste and texture. The recipe I am sharing is no-fuss and basically foolproof. It requires no mixer and a few simple ingredients and the result is a delicious loaf of rye with an incredible taste and texture.
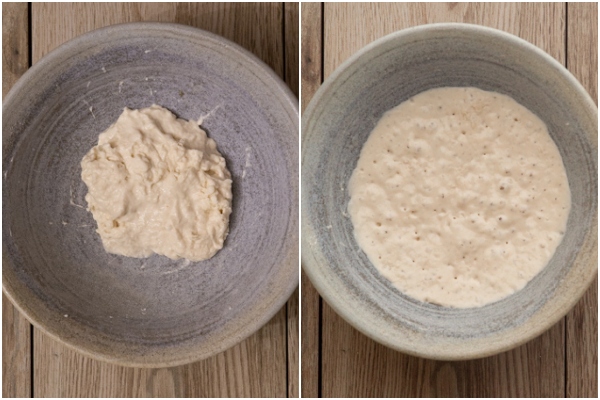
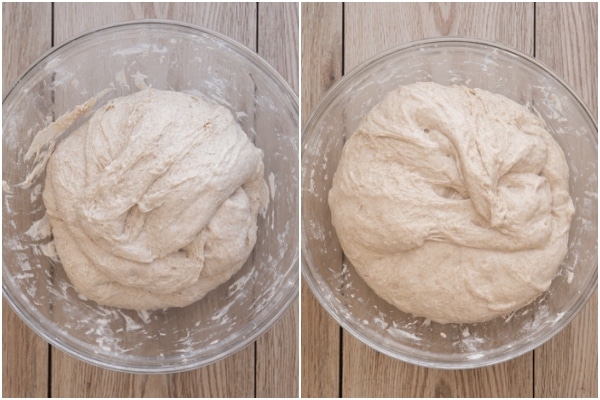
The pre-fermentation of the dough from mixing water, yeast, and a portion of the flour that sits for 12 hours is what is called the poolish. It has similarities to what a starter does for sourdough.
Once it has sat long enough, it then gets used as its own ingredient. It’s the french version of the Italian Biga, although a biga is a bit drier based on the flour to water ratio normally used.
In this recipe, we’re using bread flour as well as rye flour. If we were to use just rye flour, it would turn out dense and heavy. This way, it’s lighter but still has a delicious rye flavour. Adding bread flour also helps for a better gluten structure in the dough.

Table of Contents
How to Make it
FOR THE POOLISH
Start with adding water and a sprinkling of the yeast overtop and allow it to sit for a bit before stirring. Your yeast should foam up a bit letting you know it’s active. To this, you’ll mix in the flour until it’s all incorporated. Cover and let it rest at room temperature for 12 hours.
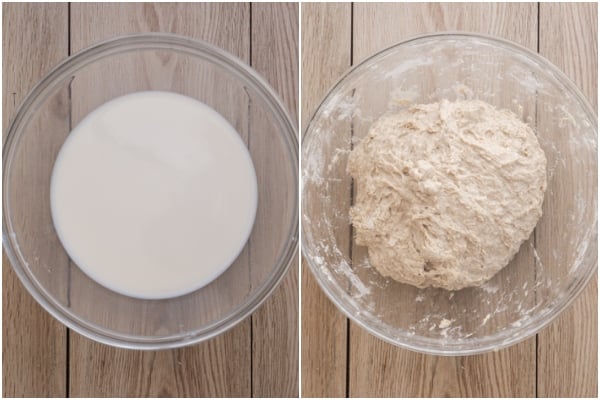
FOR THE BREAD
In a large bowl, add water and milk and sprinkle the yeast on top and let it sit. Then, stir to combine.
Add the poolish, flours, salt, and mix well making sure everything gets combined. Cover and let it rest.
For the next couple of hours you’re going to be stretching and folding the dough every 30 minutes.
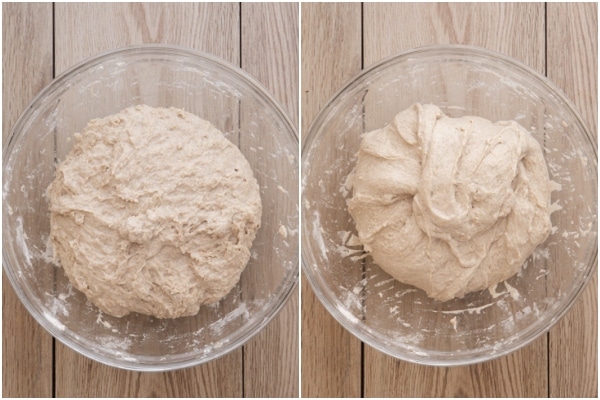
Letting it rest in between each stretch and fold.
Form the dough into a loaf or boule shape (circle) and place it in a lightly oiled pan.
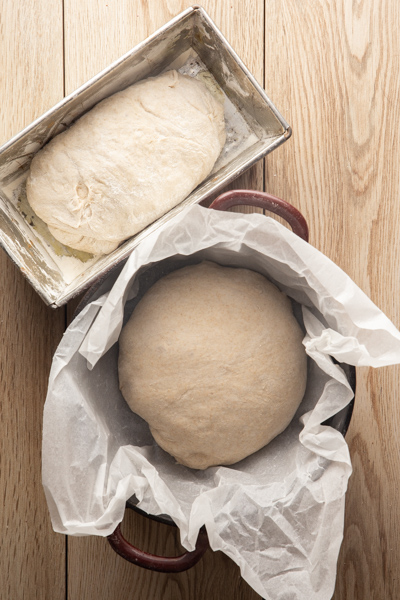
Dust with rice flour or semolina and cover and let it rise in a warm draft free area until it has doubled.
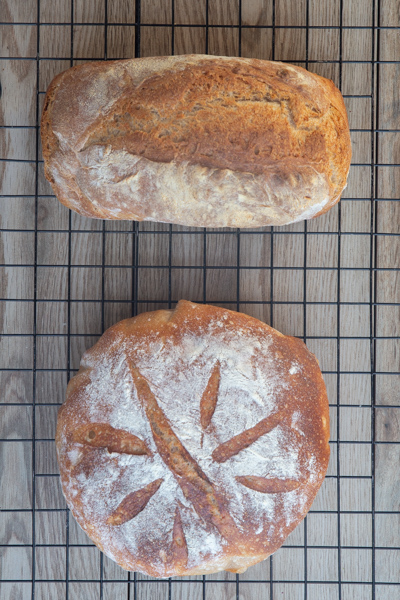
Preheat the oven, score the dough using a sharp knife or lame if you have one and bake!

Move to a wire rack right away to cool completely.
I’d love to hear from you in the comments about how your loaf turned out!
Light Rye vs Dark Rye
Rye bread has a distinct flavour, and is one of the more healthy bread choices. It’s high in fibre and low on the glycemic index. Containing lots of other nutritional benefits, like zinc, riboflavin, and vitamin B6, no matter how you slice it, it’s a great choice!
The difference between the types of rye bread is determined by the type of rye flour that is used. Light rye uses white rye flour while dark rye uses whole rye grains, which are actually sometimes coloured with molasses, coffee grinds or even cocoa powder! Pumpernickel bread is made with whole rye grains as well but coarsely ground. Last, marble rye is made with a blend of both light and dark dough.
Tips
- The flour used in the poolish can be different than what is used in the rye bread itself. You can use all-purpose if you want and it still makes a great rye bread.
- Rye bread has a dense crumb, and bread flour lightens it up a bit, therefore we are using both in this recipe.
- Don’t skip stretching and folding the dough. This recipe requires no kneading so this takes the place of that. It works the gluten to hold its shape and structure.
- Wet your fingers instead of using flour to stretch and fold the dough. That way you aren’t adding any additional flour.
FAQs
Shaping your loaf into a boule is forming it into a circle or ball shape, that isn’t quite a sphere. It’s flattened and creates a nice rustic look. You’ll end up with much shorter pieces from the end and longer ones towards the middle when you slice them.
If you haven’t cut your loaf yet, you can keep it on your counter at room temperature untouched. Once sliced, to avoid moisture loss and having your bread become stale quickly, wrap in plastic wrap or an airtight container and keep at room temperature for up to 4 days.
Absolutely! Freeze your loaf of rye once it has completely cooled. Either sliced or whole, keep wrapped tightly with plastic wrap and keep stored in a freezer-friendly bag for up to 3 months.
If you like homemade bread as much as we do then I hope you give this Rye Bread a try and be sure to let me know what you think of it. Enjoy!
More Homemade bread recipes
Homemade Rye Bread Recipe
Ingredients
FOR THE POOLISH
- ¼ cup water (lukewarm) (55 grams)
- ⅓ teaspoon active dry yeast
- ⅓ cup + 2 tablespoons all purpose or bread flour (55 grams)
FOR THE BREAD
- ¾ cup water (lukewarm) (175 grams)
- ¾ cup milk whole (lukewarm) (175 grams)
- ½ teaspoon active dry yeast
- 2¼ cups bread flour (290 grams)
- 1¼ cups rye flour (light) (135 grams)
- 1½ teaspoons salt
Instructions
FOR THE POOLISH
- In medium bowl add the water and sprinkle the yeast on top, let sit for 5-10 minutes, then stir to combine. To the bowl add the flour, mix to combine, making sure all the flour has been incorporated. Cover and let rest at room temperature for 12 hours.
FOR THE BREAD
- In large bowl add the water and milk, sprinkle the yeast on top, let sit 5-10 minutes then stir to combine. Add the poolish and mix together, add the flours and salt, mix well, incorporating all the flour. Cover and let rest for 30 minutes, then stretch & fold the dough a few times, let rest for 30 minutes, repeat the stretch and fold, let rest 30 minutes, repeat stretch and fold, rest for 30 minutes, stretch and fold for the last time. For a total of 2 hours.
- Form the dough into a loaf or boule shape place in a lightly oiled pan, dust with flour, rice flour or semolina, cover and let rise in a warm draft free area for 1 hour or until doubled.
- Pre-heat oven to 400F (200C).
- Score the dough and bake for approximately 40 minutes. Move immediately to a wire rack to cool completely. Enjoy!
I am a hobby baker. I tried this recipe for the first time, excellent! The directions were clear and easy to follow. The bread was very tasty with a nice crust and a dense crumb, as expected. Thank you very much.
Hi Elio! I’m happy to hear you liked this recipe! Enjoy your rye bread! 🙂
Hi Rosemary. Can you use rye flour in the polish?
Hi JoAnne, I have never tried it, but I do think it would be possible.Try adding a bit more rye than all purpose so about 1/3 cup + 3 tablespoons instead of 1/3 + 2 tablespoons. Hope that helps! Let us know how it goes! 🙂
Is 1/3 tsp yeast in the poolish correct? I don’t have a 1/3 measuring spoon.
Hi Laurel, yes it is correct, eyeball it, with a teaspoon. 🙂
I would love to try this but have instant yeast. What’s the measurement for the poolish with instant yeast?
Thank you!
Debbie
Hi Debbie for instant yeast you use less and the rising and the rising and poolish time will be less. You need to use a little more than half the amount stated, and check the bread and poolish after half the time passed. Let me know how it goes.
Made this and always we Loved it! your recipes are the Best! I will make this weekly!
As Always, Thank you!
Cheryl
Hi Cheryl, thanks so much, you made my day! So glad you like the recipes. Take care.